Sunday, November 13, 2016

Some Construction Notes for the Mini-Stocking


The beauty of a quick project like the mini-stocking is that it is quick. It doesn't have to fit, it doesn't have to drape well - - or at all, and it doesn't really matter if the seams are stiff or bulky; some candy or little toy is not going to be uncomfortable. But I wouldn't be ME if I didn't give consideration to the construction details. So here they are!


I generally use a long tail for the initial cast-on in a project like this. It's tidy and doesn't require looking up instructions or finding a crochet hook. However, there are a zillion cast-ons out there; try Techknitter (scroll down to the C's) or OfTroys Golden Apples for lots of good stuff.

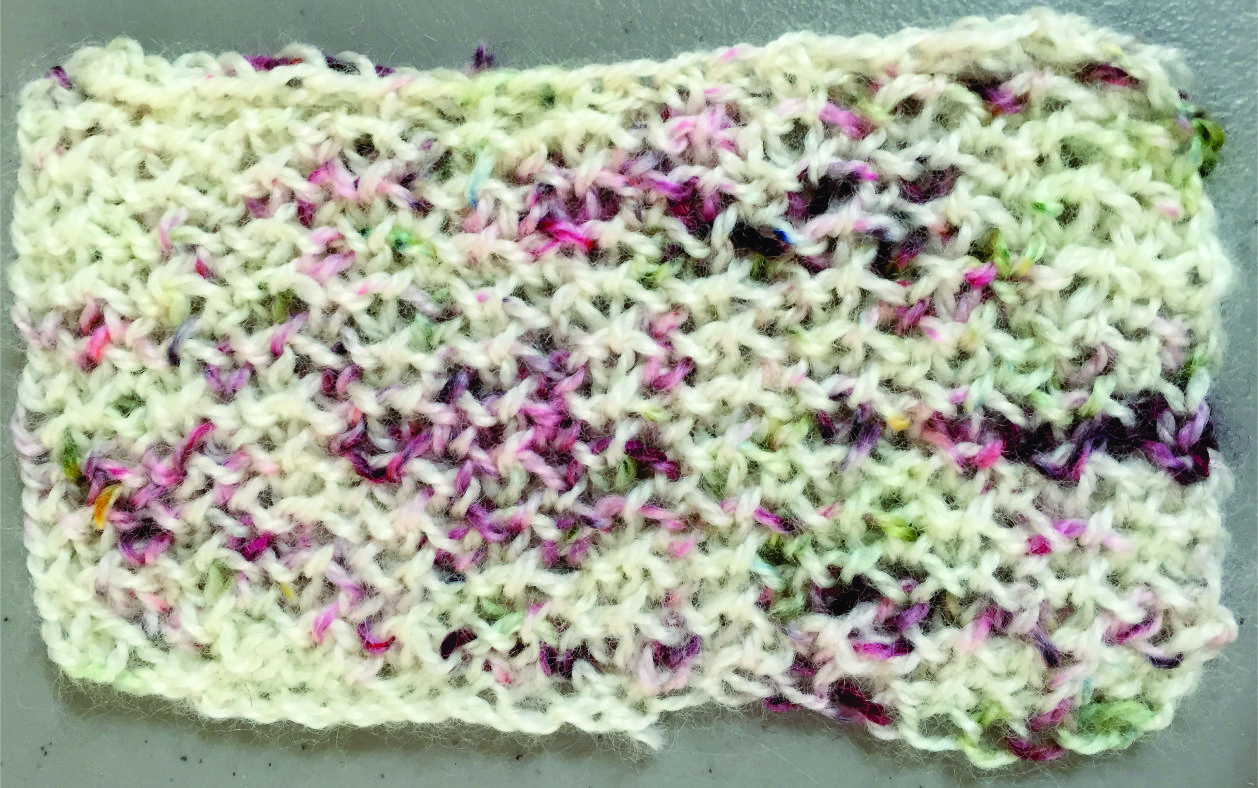
I used a picot-type cast-on for the stocking up top; "picot-type" because it doesn't actually form picots. I'll have more to say about it later in the post.


For the end-of-row cast-on in Rows 28 & 29, I
used a loop cast-on as shown to the right. I just put my left index finger under the yarn, twisted my finger clockwise, put the needle through the back of the loop, and tightened. This method has minimal bulk but can leave a nasty gap ahead of the cast-on. I found a quick fix for this, again on Techknitter's site. Barring this fix, the gap can be finessed into the seam in this project.

I used a typical chain bind-off at the end of the knitting. I'd given some thought to leaving the last row open and grafting the bottom. However, the hard edge is better for moving from a horizontal edge to a vertical one while seaming. Again, reducing bulk and stiffness is not a priority here, so I did bind-off.

I would normally seam garter stitch using the edge to edge stitch I used on the cup cozy, but it just didn't look good here, especially moving from the horizontal top of the foot to the vertical edges on the leg. So I used mattress stitch on the entire seam. Getting between the first and second stitch on garter edges is a little fiddly, so I'm thinking that slipping the first stitch of every row is a better alternative. If you try this, please let us know.

Tuesday, November 1, 2016

OMG! Only 55 days until Christmas!

Hi, all! Just a reminder that my Vintage Christmas Stocking pattern is available as a free download from my Ravelry store.

If you don't feel like making really big stockings, here's a little guy I'd like to share with you. With Lion Brand Wool-Ease on US 7 (4.5 mm) needles, it comes out to about 4.5 inches long.

The initial cast-on is the top of the stocking. When the leg is finished, stitches are cast on at the end of two rows to form the top of the foot. The heel and toe are shaped with decreases. The circle on the diagram, indicates where the sl2-k1-p2sso's occur. They form a natural fold to guide you when assembling the stocking.


Easy Mini-Stocking
Using any yarn and suitable needles, CO 19.
Rows 1-27: K19.
Row 28: K19, CO 5 (24 sts).
Row 29: K24, CO 5 (29 sts).
Row 30: K 29.
Row 31: K1, m1, k27, m1, k1 (31 sts).
Row 32: K31.
Row 33: K1, m1, k29, m1, k1 (33 sts).
Rows 34-36: K33.
Row 37: K1, ssk, k12, sl2-k1-p2sso, k12, k2tog, k1 (29 sts).
Row 38: K29.
Row 39: K1, ssk, k10, sl2-k1-p2sso, k10, k2tog, k1 (25 sts).
Row 40: K25.
Bind off in knit. Cut yarn and darn in ends.

Fold in half. Join yarn at the heel and seam around the foot and up the front of the leg. Darn in rem ends.

Until next time . . .


Monday, June 6, 2016

This and That

The Lace

The garter lace is coming along very nicely. The shorter edge is now about 24" long. I'm not sure how much longer I'm going to make it. The longer edge will ruffle automatically and I don't want the lace obscured by too much volume, so I will probably stop soon.


In a Pinch

When I finished a cozy a couple of weeks ago, I left my markers on the kitchen table instead of putting them back in my bag. I only discovered this the next time I was out and about and ready to start another cozy. Now, the cozy pattern is fairly easy and I've made so many that I lost count long ago. Nevertheless, not marking the slip stitch columns is an invitation to disaster. I had a straw wrapper nearby so I tore short lengths (obviously not as perfectly as in the diagram) and used them as markers. They were a bit more fiddly to pass from one needle to the other than actual markers, but they did the trick! And yes, I switched back to the normal markers soon after I got home.

A New Stitch Dictionary


Japanese stitch dictionaries are probably the most creative in the world. They explore unusual techniques and put common ones together in unexpected ways. There's no need to know Japanese, because they are all charted and the chart symbols are often explained with diagrams as well as words.

When my husband and I were at our local Kinokuniya store, he found this new one and asked me if I wanted it. Silly question. The pattern stitches are remarkable! Not only are they great as is, but they inspire so many ways to reconfigure them!

Unfortunately, I'm  not going to have time to do that for a while. We are moving back east later this month. If you've ever made a major move . . . well, you know. To top it off, I've come down with a cold. Not too bad a cold, but really, did I need the extra stress?

I have a lot of lace swatches I haven't photographed yet, and I will try to do that as I finish organizing. I may manage to post them before the move.

Until next time . . .

Wednesday, May 11, 2016

Lace is an Act of Faith

As I mentioned in my last post, I've been coming along on the lace for the garter. This isn't it, though; I just like to have something pretty at the top of my posts.

As I was experimenting with the cotton threads, something just didn't seem perfect. I decided I wanted to try making lace with silk thread. I couldn't find any knitting sources, so I ended up using silk embroidery thread. It is called "Soie Perlee", and I ordered it from Needle in a Haystack. (I've only dealt with them the one time, but I'm pleased with the service I received.) It's slightly thinner than #5 perle cotton.

I had it in my head that a fluted lace might look nice. There are a number of varieties of this (and I'll write about them eventually), but it is basically welts of stockinette and reverse stockinette worked the short way along the edging. It is generally worked with some short-rowing so one edge of it is shorter than the other and, as a result, the edging ruffles. It is more dense than most laces, however, and it was clear that I was not going to have enough thread. So I went looking for other patterns. And I found them!

The Ravelry store of Threads and Yarns of Pleasure has a series of edgings depicting hearts. Perfect for a wedding garter! I purchased two of the patterns, and started in right away with the simpler one, "Edging in Hearts and Lace", seen above. I was expecting to work on US 000 (1.5 mm) needles, but that was too hard, so I went up to US 00 (1.75 mm) and proceeded to work a few repeats.

My confidence thus bolstered, I started on the more difficult of the two, "Hearts in a Gathering". This is worked in short rows with a two stitch inner edge that is substantially shorter than the outer edge. You can see how it curves in the photo, but when it is pulled straight, the hearts are gently gathered. I blocked the first few repeats to make sure I liked it, and then kept going. As I said in the title, lace is an act of faith; the blocked section looks beautiful and the rest of it looks really hopeless. It's about 17" long now, so I don't have too much more to go. Then I'll get to block it into all its glory!

I'm enjoying working with the silk thread. It's not much harder to work with than cotton except when I've needed to tink. Any stitches that I missed getting back on the needle just went zoom rows and rows down. As a result, I've been using lifelines every 2.5 repeats; most of the strands at the top of the picture are just that.

I look forward to showing you the final result. Until then . . .


Wednesday, May 4, 2016

More Edgings!


There is no shortage of hits if you search the Internet for knit lace edgings. One of the best finds started out as a physical one, though.  The 1884 Lace Sampler blog documents one knitter's work to replicate the patterns in an 1800's composition book she found in an antiques store. Lucky her and, by extension, lucky us! She has provided us with instructions and charts for a substantial number of lace pattern stitches.

The swatch to the right is "Smyrna Lace". It's a garter stitch-based pattern, so it automatically lays flat. There is a "wrong" side, but it resembles the right side so closely that the pattern is pretty much reversible. My swatch is in #12 perle cotton on - - yup, neglected to write down the needle size again. It's either US 00 or US 000.  Be aware that there is an error in the chart: the leftmost double yarnover in Row 16 should be k2tog.

(By the way, you can find a completely different Smyrna Lace Edging at Knitting-and.com. It's another site with about a zillion patterns to tempt you away from loading the dishwasher!)

The lace for the garter is coming along and I was actually going to post about that before this when fate intervened. My May/June Piecework, the annual lace issue, arrived. There is a brief article about a lace sampler book compiled by Mary Elizabeth Greenwall Edie in 1935 and given to the editors by her daughter. They don't seem to have updated or published most of the patterns, yet, but they gave a neat little teaser, the "as is" directions for "Lace No. 10". It didn't take long for me to make a chart (below) and work five repeats of the pattern. My completed piece is at top of the photo with a closeup below. I worked it #8 perle cotton on US 2 (2.75 mm) needles.


Chart For Lace No. 10
 
Until next time . . .


Thursday, April 14, 2016

A Pretty Edging

As I've been looking for ideas for the wedding garter I'm working on, I've found a few things that I won't be using but are too good not to share. To the right are my swatches of the Scalloped Edging by Judy Gibson from her website, tiajudy.com. The top swatch is three repeats worked in Size 12 perle cotton thread on US 000 (1.5 mm) needles. The lower swatch is only two repeats worked in Size 5 perle cotton probably  - - yes, I should have written it down - - on US 2 (2.75 mm) needles. What a difference!

These swatches are worked back and forth, but Judy also gives instructions for working it in the round (and for making a sweet lace bookmark).

I kept getting lost in the verbal instructions, so I made a chart. Don't freak out over all the black squares; they are just there as placeholders and require nothing on your part. The beauty of a chart like this is that you can see how all the stitches line up when one section increases while the other decreases. It certainly made it easier for me to keep track!

The cast-on is the straight edge. The bind-off is the curved edge and, as such, must be worked loosely. The rows numbered on the right are right-side rows and the ones on the left side are wrong side rows. (Of course, if you're working in the round, all the rounds are on the right-side.)  As the symbol key shows, I follow the convention that the chart shows the fabric as it would look on the right side.


Judy's site has more of her original designs plus eye candy she's knit from others' patterns. It's certainly worth a look!

Until next time . . .

Tuesday, April 5, 2016

I've Been Practicing?

In 1990, I made a wedding garter for my youngest sister. I started out trying to hand knit the lace on quadruple 0 (1.2 mm) needles. Okay, lace needles need to be sharp to facilitate working multiple stitches together, but when they're pointy enough to draw blood, you've got a problem. To make a long story short, I had to change my plan and use commercial lace.

I've designed and knit lace since then, of course, but I don't recall ever trying to work that small again. So a few weeks ago, when I picked up US 0 (2.0 mm) needles and some heavy thread, I was surprised by how natural it suddenly felt. I'm pleased to say that I'm now working on triple 0 (1.5 mm) needles with Size 12 perle cotton (shown to the right with sock yarn for comparison).

The impetus for this is our nephew's upcoming marriage. I asked his fiancee if she would like me to knit something for the wedding, and she asked me to make the garter. I'm so delighted to have a tangible way to welcome her into our family!

And I'm also glad that she asked for a garter. It's a small enough item, but it has so much creative potential! (I was a bit surprised, though, that now-a-days embellishments can include skull charms and flask pockets.) To corral all the potential, I set up a Pinterest board called "Bridal Garters". There are some DIY instructions for garters, bows, and silk flowers, and also a growing collection of knit edgings. And since this is a knitting blog, I will concentrate on the edgings.

I don't have a real idea about why it was suddenly easy to do fine knitting. I suspect that the US 1 (2.25 mm) needles I used for countless pairs of socks primed me for smaller needles. Certainly, I would suggest to anyone looking to work on very small needles to do some swatches or small projects on descending sizes of needles.

I'm still in the exploration stages of this project, but I've found a few interesting things to share with you in future posts. In the meantime, a couple of hints. I wish I knew this one in 1990: quilters have little adhesive ovals to protect their finger tips. I saw them on Jo-Ann's website, but I imagine other large craft stores and quilting specialty shops will carry them. The other hint is pictured to the right. Thread comes on spools that want to fall off the table and roll around on the floor. I'm using a ring stand to keep the thread clean! And I still have room for my rings!

That's it for now. Until next time . . .


Tuesday, March 22, 2016

Stitches West 2016


"But I don't need anymore yarn" loses all meaning when you get the opportunity to go to a giant fair like Stitches. There is so much to see and touch. And buy. Nevertheless, I was quite restrained, buying nothing but two hanks of fingering weight yarn.

The yarn in question is from Cozy Rabbit Farm. It's hand dyed and soft, soft, soft! The colors are pinks and greens on a natural background.


I did a really quick swatch just to get started, and before I was an inch and a half in, I realized that this yarn wanted to be knit into something squishy. Enter "Brioche Stitch".

For those of you not familiar with this, brioche is a type of knit fabric created with slipped stitches and yarnovers which are then worked together in various ways. The construction makes a plush fabric that can look lacy when stretched or worked on large needles. You will find some different brioche patterns in stitch dictionaries, but for the mother lode, you'll want to look at the work of author Nancy Marchant. All of the stitch patterns I swatched come from her book Knitting Brioche.


First up, I tried  "Mimi's Estonian Tuck Stitch" (page 143). This did not distribute the colors well; I was especially disturbed by the pooling in the upper left and the jarring dark strands near the lower edge. But look at the stitch definition in the closeup! It's easy to imagine this stitch pattern in a plainer yarn. (Hmm, my stash contains a rose pink merino/silk blend yarn with shiny bits of silver. That seems promising!)


 At any rate, there were two choices: pick a stitch with no obvious strands or one that is all obvious strands. " Moss Brioche Stitch" (page 115) is in the first category. It distributes the color nicely and has the added bonus of being reversible. I could have stopped there, but I had already committed to working a "strandy" pattern, so I continued on.


This is "Crossed Brioche Stitch" (page 122), another reversible fabric. I had worked the previous two swatches on US 2 (2.75 mm) needles, so of course that's what I started this swatch on. It proved too easy to make errors; tinking back was useless as the very small stitches got loose and just ran. So, what do you do when the stitches are too small? I went up to US 4 (3.5 mm) needles and that did the trick. The fabric is slightly open, has a lovely drape, and reminds me of Monet waterlilies. So what will I make with it? I don't know. It's certainly soft enough to wear as a cowl, but I have enough for something larger, perhaps a shawl or shrug. The strands are strongly diagonal, so working something on the bias would be really fun; the strands could then be horizontal or vertical and I could make blocks and hold them in different directions. Gotta think about that.


  I want to mention a couple of interesting things about this stitch.

One is the way it comes off the needles. It's really scary before you block it!

The other is the true strength of this pattern stitch; it's remarkable in two colors! The link above has instructions for it in one, two, and three colors.


That's it for now! Until next time . . .

Thursday, March 10, 2016

So, anyway . . .

I turned 60 over the summer and decided that if I am ever going to produce a knitting book, I'd better get to it! I figured that if I focused on that and did nothing else, I would soon have a whole stack of designs to chose from!

I have created some really cool stuff (if I do say so myself), but not enough yet for a book. In the meantime, I've missed blogging. So, here goes . . .


 When I use three colors for a cozy, I like to arrange them to form stripes. In general, I use two closely-related colors with one high contrast color. All the odd ridges (two rows each) are in the main color which is one of the related colors. The even ridges alternate between the two other colors, starting and ending with the high-contrast one. The effect, in theory, is three-ridge stripes in low-contrast colors separated by ridges of the high-contrast color. In theory.  Although this cozy is supposed to be gold and brown stripes separated by cream, what I'm really seeing is gold and cream stripes separated by brown. This is probably because dark colors appear to recede while light colors appear to advance. Either way, it's an effect I really like.


    I occasionally make four-color cozies. In this example, the main color, black, repeats every other ridge. The secondary color, gold, repeats every fourth ridge. I carry these two colors up the right-hand selvedge as usual. The red and the white repeat every eight ridges, so I join and cut these colors every time they are used. There are a lot of ends to darn in.


    Stitches West was three weeks ago, and I haven't had a chance yet to play with the yarn I bought. I'm going to start that right now, and hopefully have some swatches for my next post. Until then . . .