 I
have more ideas for modifying "Old Shale", most notably using
eccentric increases and/or putting the decreases on different rows
than the increases. By "eccentric", I was thinking of
drawing up new stitches through various places in previous rows. I
would decrease them out over several rows so that the new stitches
would fan out over the background. It was a nice thought, but I ended
up with a mass of strands I couldn't identify and decreases that did
not correspond to the increases they were supposed to. I still like
the idea; I filed my notes and swatches and I'm going to let the idea
simmer for a while. In the meantime, I started a swatch where I drew
up stitches and decreased them out quickly. And that created a topic
for the next few posts.
I
have more ideas for modifying "Old Shale", most notably using
eccentric increases and/or putting the decreases on different rows
than the increases. By "eccentric", I was thinking of
drawing up new stitches through various places in previous rows. I
would decrease them out over several rows so that the new stitches
would fan out over the background. It was a nice thought, but I ended
up with a mass of strands I couldn't identify and decreases that did
not correspond to the increases they were supposed to. I still like
the idea; I filed my notes and swatches and I'm going to let the idea
simmer for a while. In the meantime, I started a swatch where I drew
up stitches and decreased them out quickly. And that created a topic
for the next few posts. 
Basic Stitch #1 (Notice that patterning is worked on the WS.)
Cast on any number of stitches, plus 2 for selvedges. Use a needle 1 or 2 sizes larger than the one you will be knitting with.
Rows 1 & 3 (RS): Purl.
Row 2: Knit.
Row 4: K1. Insert RN from front into st 3 rows below next st on needle and knit up a st. Place the new st on LN without twisting it and k2tog-b. Continue until 1 st rem; k1.

Bind off loosely in pattern Row 4.
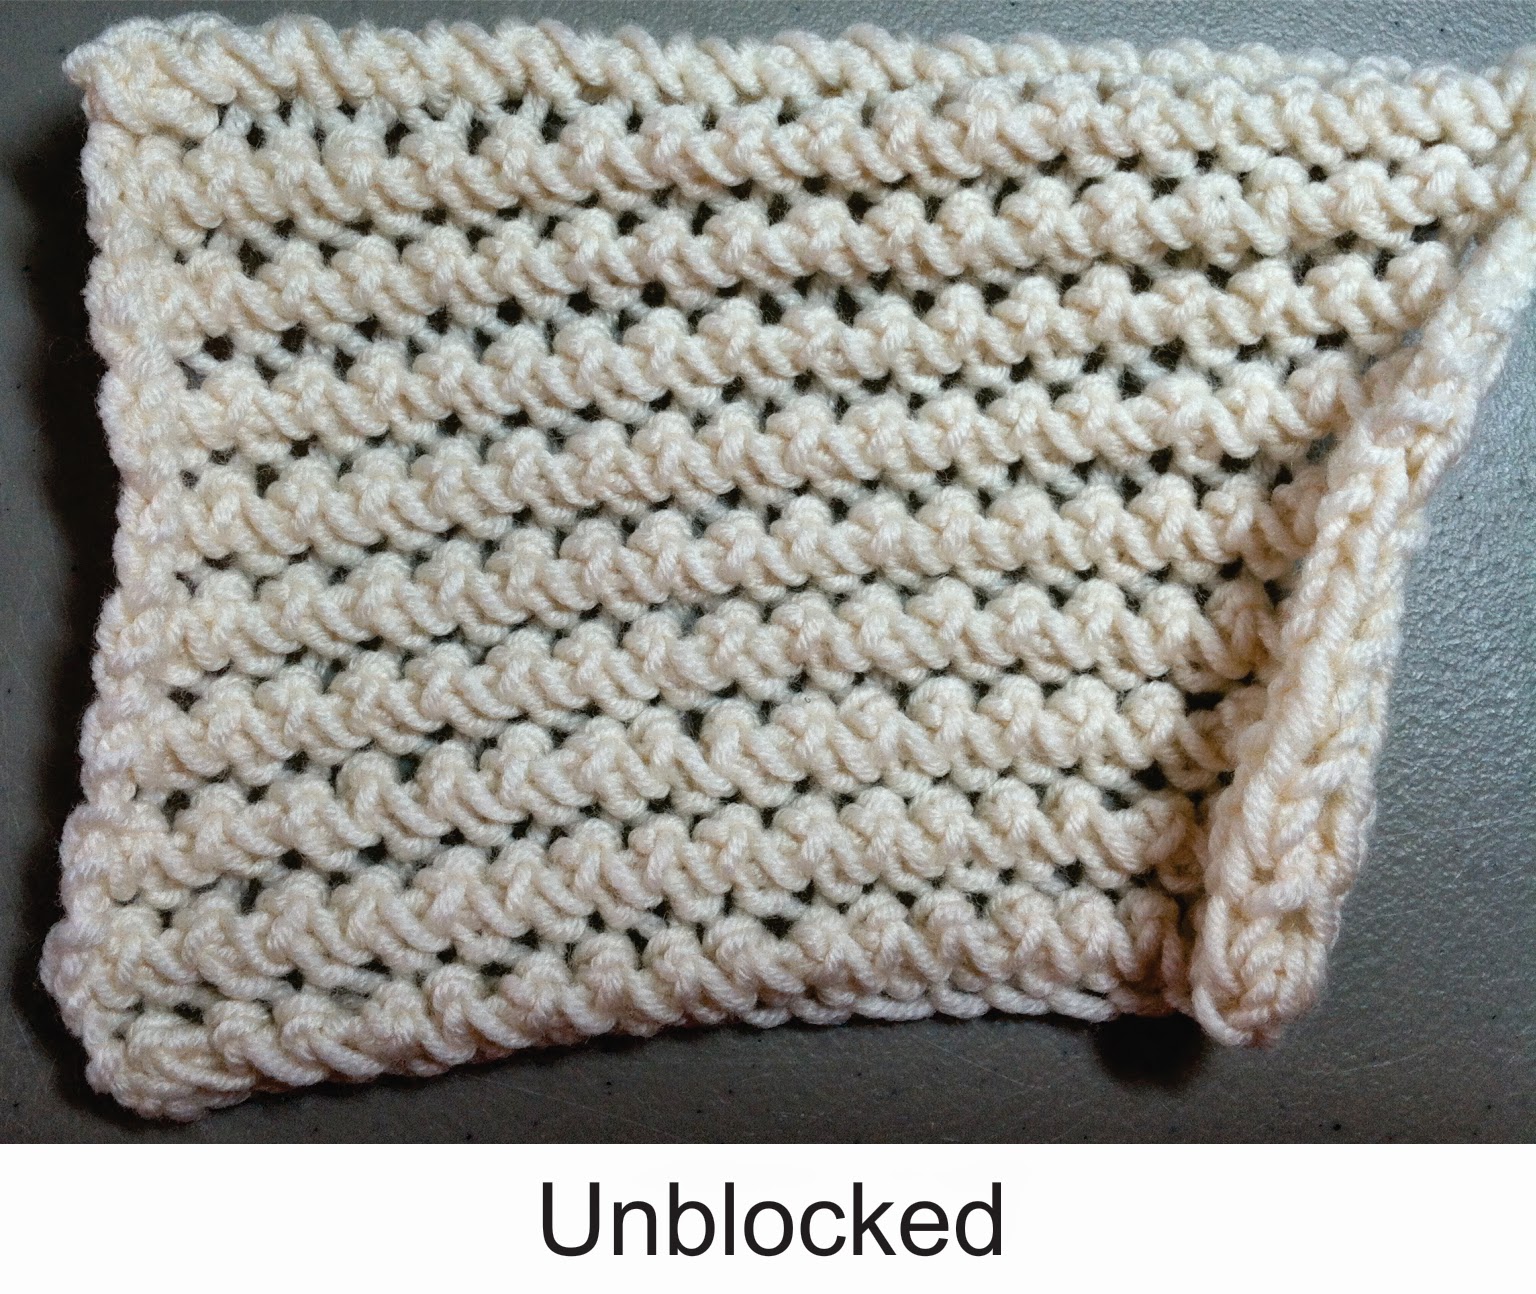 This stitch biases wildly before it is blocked. I used superwash Merino wool for this swatch. When wet, it is an extremely malleable material, so I was able to block it to get the result above. Obviously, it's important to block your swatch before you start a project, especially if you plan to use synthetic yarn. (Need I add that this is a good practice anyway?)
Next up will be the purl version of the basic stitch. Until then . . .


